Care of leather sole, sole cut and heel
Preface:
There is a lot written about shoe and sole care on the internet, and most of it is pure nonsense and only serves to promote certain products.
Now to leather sole care:
The care of leather soles is the very first activity in shoe care, as it generates dust.
There are currently no photos of the steps described below.
preliminary work:
Place the sand/abrasive paper in P400 grain, the coarser one on the table, the sanding block, an eraser does it good, and measure how wide the paper strip should be so that it can be wrapped around the block.
Then take a ruler, preferably one made of wood with a metal edge, and tear off a correspondingly narrow strip of sandpaper.
Then wrap it under tension around the sanding block.
Then place the shoe on its side, hold it with one hand and grind the sole cut, also popularly called sole edge, with circular, offset movements – while holding the sanding block at right angles to the sole.
In the area of the heel, please pay attention to the plastering, the ornaments or embossings attached with a small wheel by the shoemaker.
Please keep a small distance to these so as not to drag them away!
Then grind the sole cut and heel in the same way with the finer emery paper in P800 and brush the shoes thoroughly with a short-haired shoe brush.
Then clean the sole cut, heel and the entire upper leather, the shoe upper, with the Two Face Plus Lotion to completely remove the sanding dust or dirt.
What you need
sanding paper P400 + P800
a small block
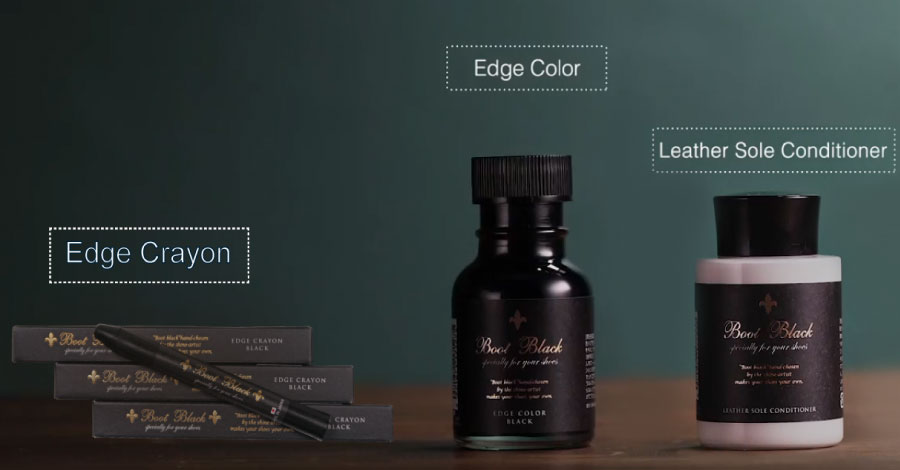
Edge Color
Edge Crayon
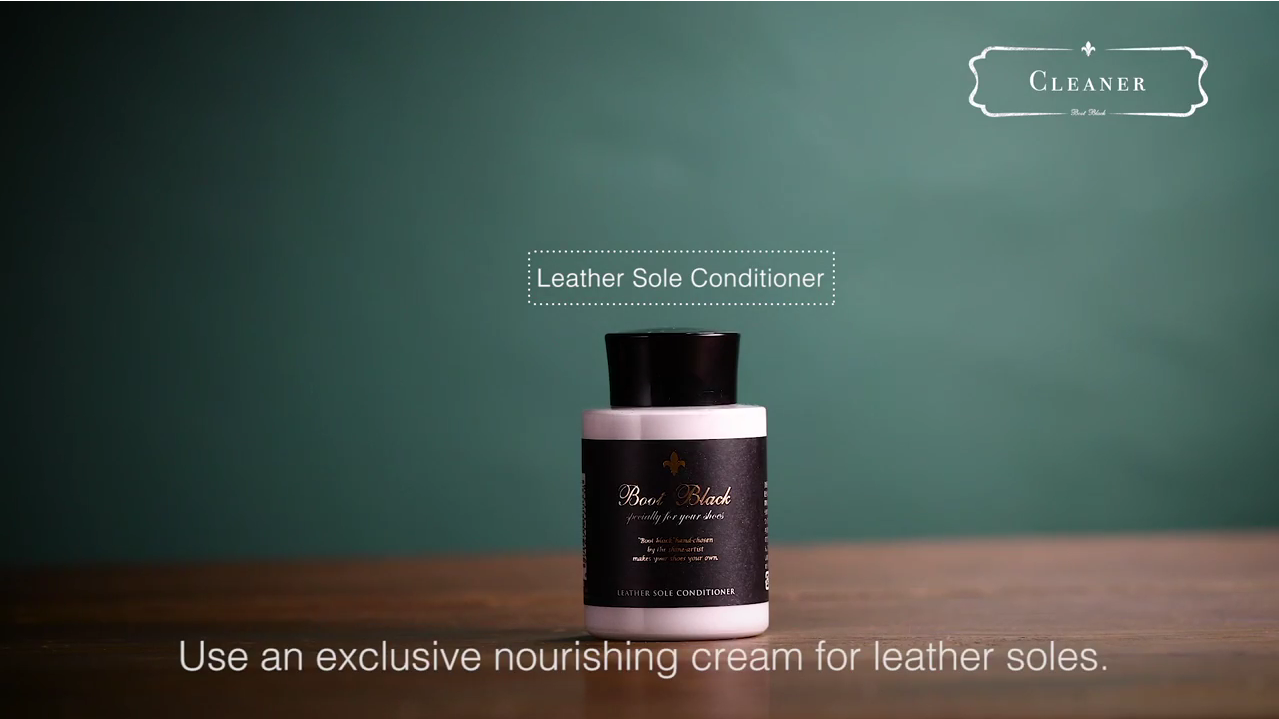
Leather Sole Conditioner
>Time
10-15 minutes
First, the sole edge is coloured with the Sole Edge colour.
In the photo Hiroaki Mitsuhashi-san grabs the shoe with 2 fingers at the heel for a better view.


You grab the shoe with your left hand from above by the inlaid shoe tree!
Then turn the shoe as far as possible with the tip to the right and then place it with the sponge – again exactly as Mr. Mitsuhashi shows it in the video:
Take up paint, wipe it off – be careful not to throw the bottle! and stroke along the sole while turning the shoe with your left hand.
They start at the leading edge of the heel for better orientation.
If you have circumnavigated one side of the sponge once, please change the applicator support side and turn the shoe back to its original position.
You achieve the most even ink coverage possible.
To be absolutely sure that the sole cut (sole edge) and heel are evenly coloured, you can do the procedure twice directly one after the other, i.e. without a break.
Place the shoes “upside down”, preferably with the tip of the shoe (upside down) on a large polishing brush so that the freshly dyed sole cut can dry.
It does it very quickly!
Step 3
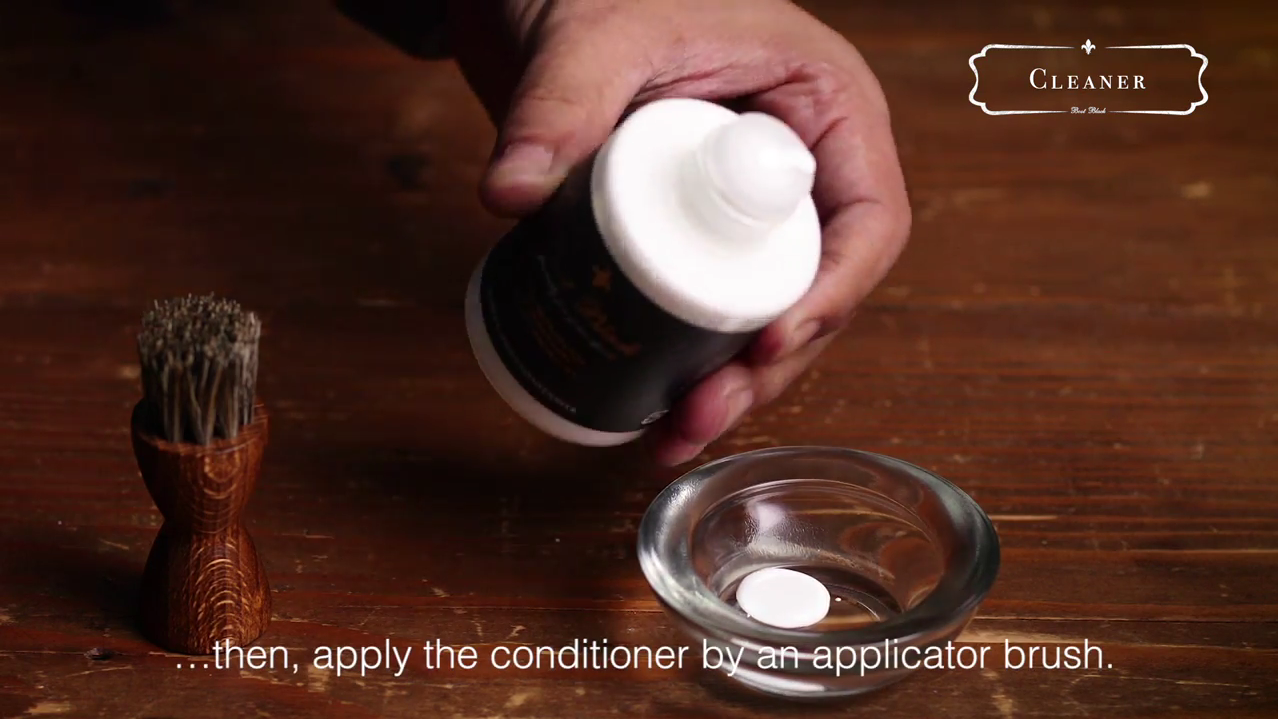
Der Auftrag der Ledersohlenpflege, des Leather Sole Conditioners, erfolgt am besten mit einer Stielbürste [Schuhcremebürste mit Stiel].
Sind die Schuhe neu und die Ledersohle eingewachst, sie glänzt dann sehr schön, dann sollten Sie zuerst ein paar Schritte auf rauem Untergrund darin laufen, damit die Ledersohle die Pflegelotion überhaupt aufnehmen kann.
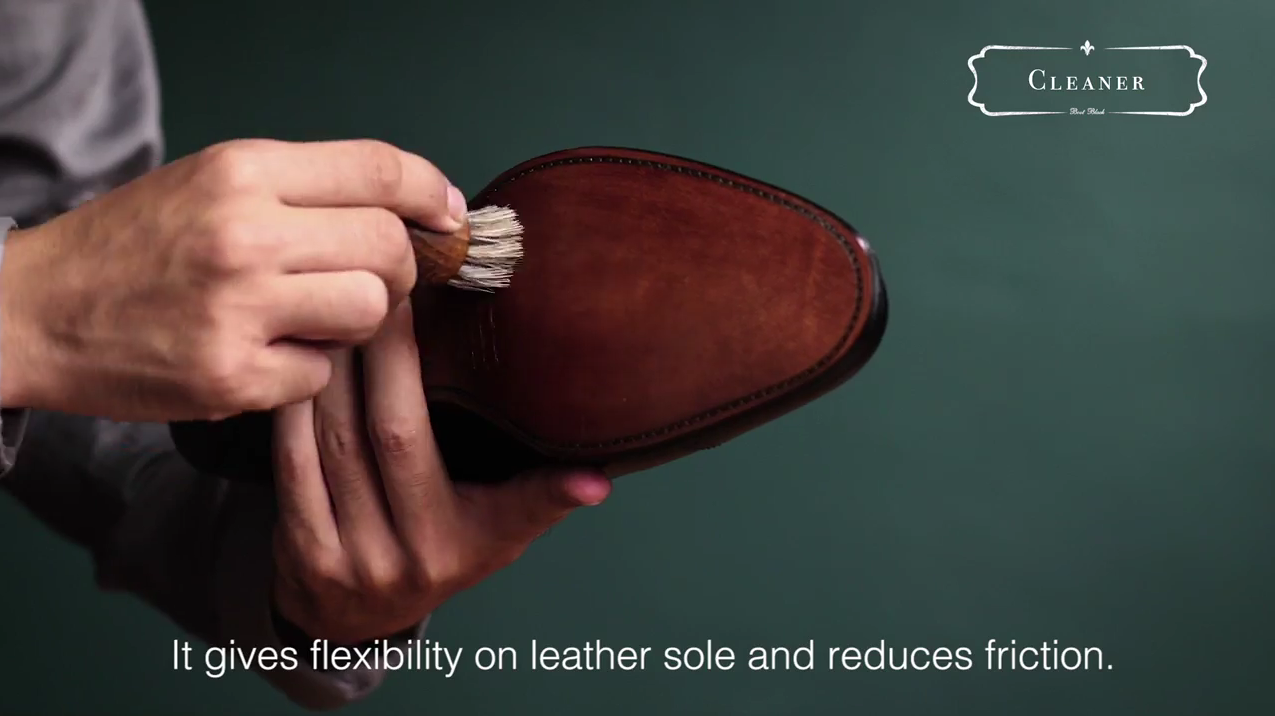
Tragen Sie den Conditioner in kreisenden Bewegungen auf, maximal 3 Lagen – auf keinen Fall zu viel, schon gar nicht auf einmal, da das Leder die Flüssigkeit aufnehmen muss; dazu braucht sie etwas Zeit.
Lassen Sie die Ledersohlen der Schuhe trocknen bevor Sie weiter arbeiten – zumindest so gut, dass die Sohlen nicht alles verschmieren.
The Leather Sole Conditioner is now completely absorbed into the leather sole, and the sole color has long since dried, so put the shoe back on its side and hold it firmly with your left hand.
It’s best to start with the Edge Crayon at the heel – at least that’s the easiest way to explain it.
You rub the tip of the wax crayon transversely to the visible leather layers of the heel – you immediately notice how well you have smoothed the heel with the emery paper.
Please do this in both X-directions, left top to right bottom, then from right top to left bottom – exactly like an X.
You can also rub some wax parallel to the heel leather layers.
This is how you do it with the sole cut – the way it is best for you.
The more wax you apply, the better the heel and sole cut will shine.
At the beginning – with the first order – this is, admittedly, somewhat arduous and strenuous. It gets better from the second.
Brush with the thumbtip over the applied wax layer: Glossy!

Now you can start to cream your shoes.

